Quick answer: most travelers don’t need a visa for the Philippines. Philippines visa requirements in 2026 boil down to this: citizens of around 160 countries — including the US, UK, Canada, Australia, and all of the EU — get 30 days visa-free on arrival. You need a passport valid for at least six months beyond your stay, an onward or return ticket, and a free eTravel registration completed within 72 hours before you land. That’s it. No fees at the border, no embassy appointments, no paperwork beyond a QR code on your phone.
I’ve cleared Philippine immigration more times than I can count, and I can tell you the system is one of the friendliest in Asia — but it has quirks that catch people out: airlines that refuse boarding over a missing onward ticket, copycat eTravel websites that charge for a free form, and an extension system that’s cheap and easy if you know the ladder and expensive if you learn it by overstaying. This guide covers every scenario for 2026: visa-free entry, the new rules for Indian and Chinese travelers, extensions to 59 days and beyond, the one-year balikbayan privilege, the digital nomad visa, overstay penalties, and the exit clearance most long-stayers don’t find out about until the airport.
One housekeeping note before we start: immigration rules are perishable. Everything below was verified against official Philippine government sources in June 2026, but policies shift, so treat the official sites linked at the bottom as the final word for your travel dates.
Philippines Visa Requirements by Nationality
The Philippines runs one of the most liberal entry policies in Southeast Asia, anchored by Executive Order 408. Here’s how the nationalities break down in 2026:
| Your passport | Visa-free stay | Extendable? | Notes |
|---|---|---|---|
| US, UK, Canada, Australia, NZ, all EU states, Japan, South Korea, Singapore, Malaysia, Thailand, Indonesia, Vietnam, UAE, Saudi Arabia, South Africa, Mexico, Argentina + ~135 more | 30 days | Yes — up to 36 months total | The standard deal. No visa, no fee, stamp on arrival. |
| Brazil, Israel | 59 days | Yes | The most generous initial stay, thanks to bilateral agreements. |
| India | 14 days | No | Visa-free since June 8, 2025. Jumps to 30 days (non-extendable) if you hold a valid visa or residence permit for the US, UK, Canada, Australia, Japan, Singapore, or a Schengen state. |
| China (PRC) | 14 days | No | Unconditional visa-free entry since January 16, 2026 — a major change. Requires confirmed hotel booking and onward ticket. Non-convertible to other visas. |
| Hong Kong SAR, Macau SAR, Taiwan | 14 days | Yes | British National (Overseas) and Macau-Portuguese passports get 7 days instead. |
| ~36 countries incl. Pakistan, Bangladesh, Sri Lanka, Nigeria, Egypt, Ukraine, Serbia | Visa required | 9A visa: extendable up to 24 months | Apply at a Philippine embassy before travel, or check e-Visa eligibility (more below). |
A few details worth pulling out of that table. The Indian rule is two-tiered: every Indian passport holder now gets 14 days on arrival, but if you have a “substitute visa” — a used or unused multiple-entry visa, or permanent residence, from Australia, Canada, Japan, Schengen, Singapore, the UK, or the US — you get 30 days instead. Neither version can be extended, which makes the Philippines a fly-in, fly-out destination for Indian travelers rather than a slow-travel one for now.
China’s January 2026 change is the bigger story. Beijing-passport holders previously needed a substitute visa for a measly 7-day entry; now it’s a flat 14 days for tourism with nothing more than a hotel booking and a return ticket. If you’re planning around either of these policies, double-check them close to your travel date — they’re new, politically sensitive, and the fine print has already been revised once.
Everyone else — the roughly 160-country club — gets the same simple deal I get: walk off the plane, hand over your passport, get 30 days. The day you land counts as day zero, so a stamp on June 14 means you’re good through July 14. If your trip is two or three weeks of island hopping, reef diving, and rice-terrace hikes, you’ll never think about immigration again until you fly home.

The Four Things Every Traveler Needs in 2026
Visa-free doesn’t mean requirement-free. Four things stand between you and that arrival stamp, and three of them get checked before you ever see a Philippine immigration officer — at your departure airport, by your airline.
1. A passport with six months’ validity
Your passport must be valid for at least six months beyond your intended stay, not beyond your arrival date. Entering on the 30-day exemption? Count six months plus 30 days from the day you land. Airlines apply this rule mechanically at check-in, and I’ve watched a traveler at the gate in Hong Kong get turned away over a passport with five and a half months left. There’s no blank-page minimum, but you’ll want space for one entry and one exit stamp.
2. An onward or return ticket
Here’s the honest version of how this rule works in practice. Philippine immigration officers rarely ask to see proof of onward travel — in all my arrivals, I’ve been asked exactly twice, both times when entering on a fresh exemption shortly after a long previous stay. Airline check-in staff, on the other hand, ask constantly, because the carrier eats the cost of flying you back if you’re refused entry. Budget carriers are the strictest enforcers. Cebu Pacific and AirAsia check-in agents will ask for an onward booking as routinely as they ask for your passport.
So: have a real exit booking. If your plans are open-ended, a cheap one-way to Kuala Lumpur or Singapore (often under $40 on a sale) satisfies the requirement and gives you a usable escape hatch. Within the allowed period works fine — the ticket doesn’t need to match your maximum stay to the day, it just needs to exist.
3. eTravel registration — free, and full of impostors
Every traveler entering (and leaving) the Philippines must register on the government’s eTravel platform within 72 hours before arrival. It’s a single online form — passport details, flight number, address in the Philippines, brief health declaration — and it spits out a QR code you’ll show at immigration. Registration is completely free and takes about five minutes.
The catch: the only official site is etravel.gov.ph. A cottage industry of copycat sites with names like “etravel registration” and “etravel pass” sits in the search ads and charges $30–50 for the same free form — or worse, harvests your passport data and delivers nothing. Type the address directly, look for the .gov.ph domain, and pay nobody. A green QR code means you’re cleared for the express lane; a red one just means a quarantine officer gives your declaration a second look. Each QR code is valid for one entry, so you register fresh for every trip.
4. Proof of funds and accommodation — the soft requirements
Officially, an immigration officer can ask you to demonstrate financial capacity and a confirmed place to stay. In practice this almost never happens to ordinary tourists; it surfaces when something else raises a flag — a string of back-to-back 36-month stays, a one-way ticket with no explanation, an unusual travel history. Chinese nationals entering under the new 14-day policy are the exception: the hotel booking is a stated condition of entry, so have the confirmation printed or saved offline. For everyone else, booking your first few nights and having a bank app that opens without Wi-Fi is more than enough preparation.
What Actually Happens When You Land
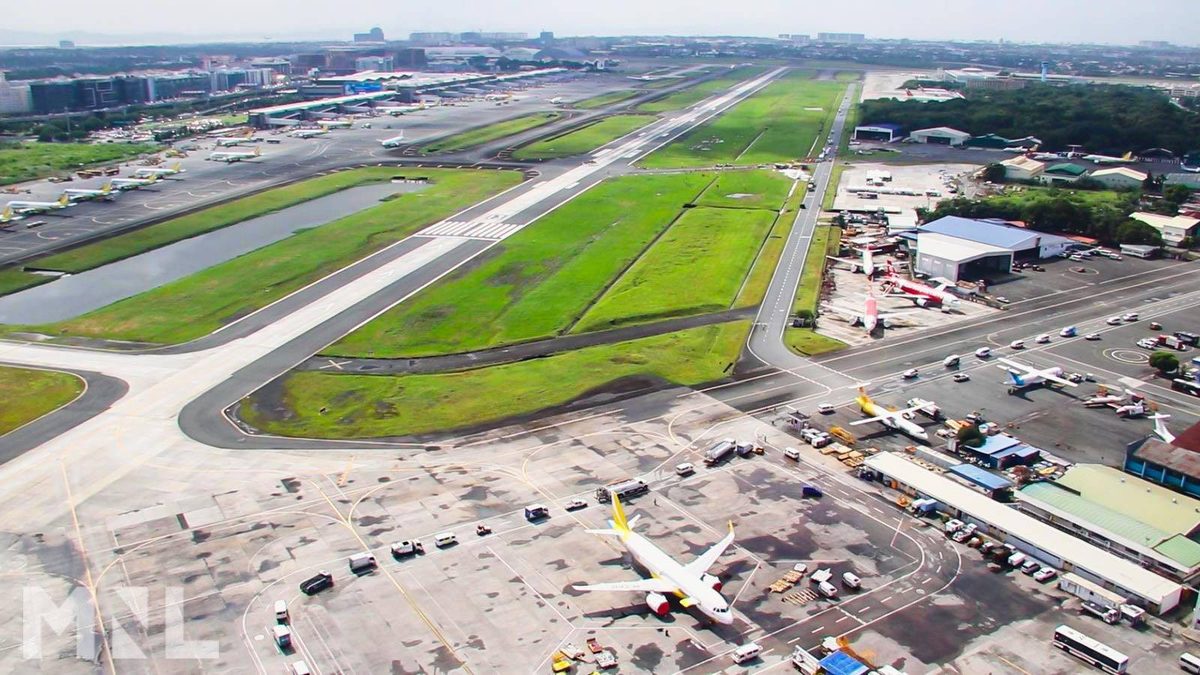
Most international visitors arrive through one of four gateways: Manila’s Ninoy Aquino International Airport (NAIA), Mactan-Cebu International, Clark International north of Manila, and a growing roster of direct flights into Bohol-Panglao and Davao. The arrival flow is the same everywhere, and it’s gotten noticeably faster since eTravel replaced paper arrival cards.
Off the plane, you’ll walk to immigration and join the foreigner queue. Have three things ready: passport, eTravel QR code (screenshot is fine — airport Wi-Fi is not a thing to gamble on), and, if asked, your onward ticket. The officer scans the QR, maybe asks how long you’re staying and where, stamps you in, and writes or prints the authorized stay. Check the stamp before you walk away. Officers occasionally write the wrong date, and a mis-stamped date is infinitely easier to fix at the counter than at an immigration office three weeks later. The e-gates you’ll see at NAIA and Cebu are currently for Philippine passport holders only, so foreigners queue for a human stamp regardless of how fancy the terminal looks.
From wheels-down to taxi rank, I budget 45 minutes at NAIA Terminal 3 on a good day, and double that when several wide-bodies land together — early morning and just before midnight are the crunch windows. Cebu is consistently quicker. If you’re connecting onward to Palawan or the smaller islands, leave a generous buffer: three hours minimum between an international arrival and a domestic connection in Manila, because you’ll change terminals, re-clear security, and Manila traffic can turn a terminal transfer into an expedition.

One more arrival-day tip from hard experience: if your trip spans more than 30 days, photograph your arrival stamp the moment you’re through. Every extension, and the exit clearance at the end of a long stay, keys off that stamp — and phones get lost more often than passports get stolen.
If You Do Need a Visa: 9A Tourist Visa, e-Visa, and Transit
Around 36 nationalities — mostly in South Asia, the Middle East, Africa, and parts of Eastern Europe — need a visa before traveling. If that’s you, there are three routes.
The embassy-issued 9A tourist visa
The classic route: apply in person at the Philippine embassy or consulate in your country of nationality or legal residence. You can’t apply from a third country while traveling, which trips up a lot of long-term backpackers. Expect to provide the application form, your passport (valid six months past your departure date), a passport photo on a white background, a round-trip or onward itinerary, proof of funds (recent bank statements), and proof of accommodation. Single-entry visas run around $30–40, multiple-entry around $60–80, and both are typically valid for three months from issue with 30 days of stay per entry, extendable in-country. Processing speed varies wildly by post — some turn applications around in three working days, others take three weeks — so apply at least a month out.
The e-Visa — useful for some, pointless for most
The Philippines launched an electronic visa portal at evisa.gov.ph in 2023 and has since expanded it to applicants residing in around 45 countries. Here’s my honest take: if you’re from a visa-exempt country, the e-Visa is worse than useless — it costs money, it can’t be extended, and it can’t be converted to another visa type, while your free 30-day exemption can do both. The e-Visa exists for visa-required nationals who happen to live in an eligible country and want to skip the embassy queue, and for them it’s a real convenience. Everyone else should ignore it. Be careful with search results here too: like eTravel, the e-Visa has paid impostor sites, and the only official portal is the .gov.ph one.
The 9B transit visa
Visa-required nationals transiting through a Philippine airport need a transit visa (9B) — about $20 at an embassy, good for a stay of up to 72 hours. If your layover keeps you airside on a single ticket, you can usually skip it, but anyone who needs to collect bags and re-check (which describes most self-connected budget itineraries through Manila) needs the 9B or a full visa. Visa-exempt nationals don’t need anything for transit beyond the standard eTravel registration.
Staying Past 30 Days: The Extension Ladder
This is where the Philippines quietly beats almost every neighbor. Thailand makes long-stayers do visa runs; Indonesia makes them hire agents. The Philippines lets a visa-exempt tourist extend, and extend, and extend — up to 36 months of continuous stay without ever leaving the country (24 months if you entered on an embassy visa). No other major Southeast Asian destination comes close, and it’s a big part of why the expat and digital nomad scene here keeps growing despite faster internet elsewhere.

The ladder works like this in 2026:
| Step | What you get | Cost (PHP) | Cost (approx USD) | Where |
|---|---|---|---|---|
| First extension (“visa waiver”) | +29 days → 59 days total | around ₱3,030 | ~$55 | Online via BI eServices, or any immigration office |
| Subsequent extensions | 1 or 2 months at a time | roughly ₱2,430–4,300 per filing | ~$45–75 | Online or in person |
| ACR I-Card (one-time, required past 59 days) | Biometric ID card | about $50 plus express fees | ~$50–60 | In person, first time only |
| Long-Stay Visitor Visa Extension (LSVVE) | 6 months in one filing | ₱11,500 (visa-free nationals); ₱13,900 (visa-required) | ~$205 / ~$250 | Online or in person |
Prices are the current published rates as of mid-2026; the Bureau of Immigration adjusts fees occasionally and individual offices add small express-lane charges, so treat these as close estimates rather than gospel.
The pattern most long-stayers follow: take the first 29-day extension to hit 59 days, then either keep buying months or file the LSVVE and forget about immigration for half a year. If you know from the start you’re staying three months or more, the LSVVE is the better math — six months for roughly the cost of three monthly filings, and four fewer queue mornings. Past 59 days, the ACR I-Card becomes mandatory: a one-time biometric appointment (fingerprints and photo at an immigration office), after which renewals and further extensions can happen fully online.
Extending online — the 2026 reality
The genuinely good news: the Bureau of Immigration’s eServices portal (e-services.immigration.gov.ph) now handles most tourist extensions end to end — 1-month, 2-month, even the 6-month LSVVE — with payment by card, GCash, or Maya. You upload your passport bio page and current stamp, pay, and receive an electronic official receipt that serves as proof of lawful stay. Keep every one of those e-receipts; you’ll want them at departure. The one unavoidable office visit remains that first ACR I-Card biometric capture.
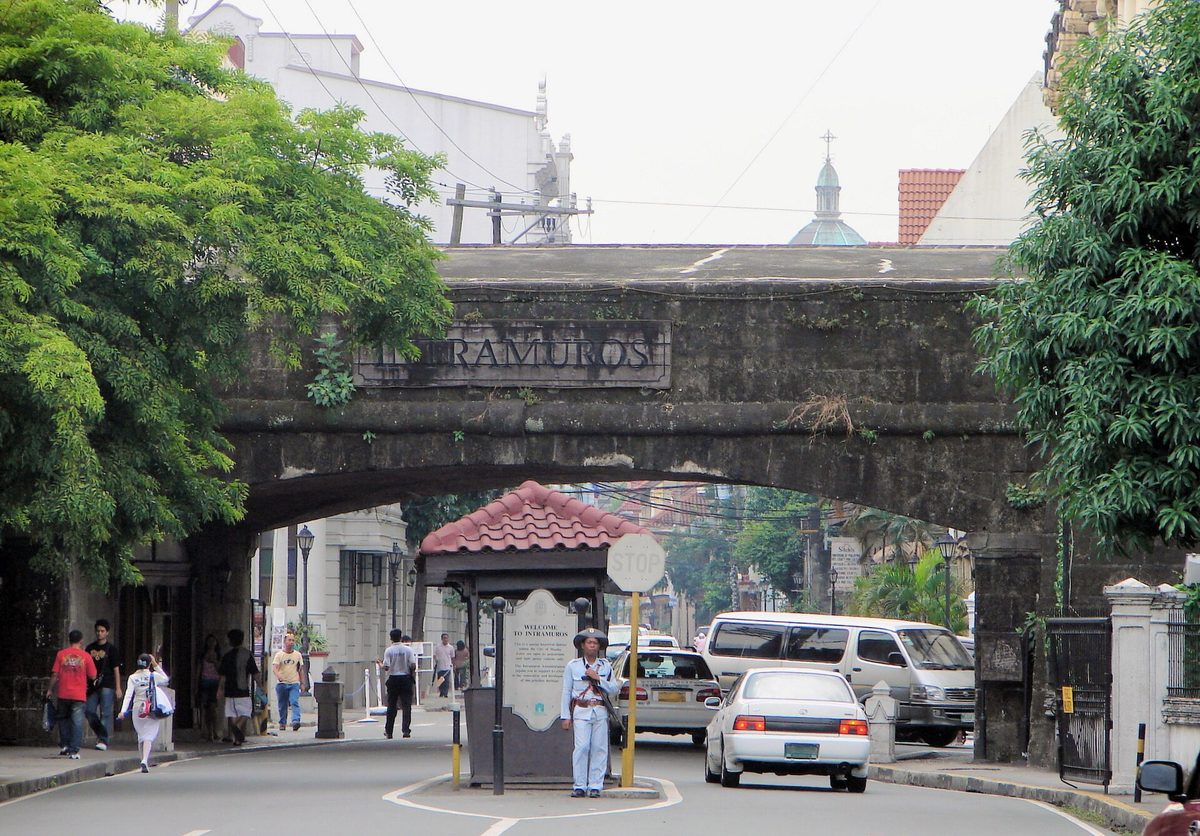
Two pieces of earned advice. File at least 7–10 days before your current stay expires — the portal has maintenance windows and payment hiccups, and “the website was down” doesn’t waive an overstay fine. And if you’d rather do it in person, skip the main office in Intramuros and use a satellite office in an air-conditioned mall — SM Aura and SM North EDSA in Metro Manila are the well-worn favorites, and regional offices in Cebu, Davao, Iloilo, and Puerto Princesa handle extensions without Manila’s queues.
The Balikbayan Privilege: One Year, Free, on Arrival

If you’re a former Filipino citizen, or you’re married to a Filipino, this is the single most valuable stamp in the entire Philippine immigration system — and immigration officers won’t always volunteer it. The balikbayan privilege grants a one-year visa-free stay, on arrival, at no cost, to:
- Former Filipino citizens (naturalized elsewhere) returning to visit;
- The foreign spouse of a Filipino citizen or former Filipino — if they enter the Philippines together;
- The foreign children of a Filipino or former Filipino, traveling with the Filipino parent.
The conditions matter. The foreign family members must be nationals of a visa-exempt country, and they must physically arrive with the Filipino or former-Filipino family member — same flight, same immigration queue. Arrive a day apart and the privilege evaporates; the foreign spouse gets the ordinary 30 days instead. At the counter, ask explicitly: “balikbayan stamp, please,” and have your marriage certificate or proof of former Philippine citizenship within reach. Most officers grant it on the spot with no documents requested, but the one time they ask is the one time it matters. The Philippine government re-issued consolidated balikbayan guidelines in June 2026 confirming the program’s rules, so this privilege is alive and well.
A balikbayan year is also extendable — you can lengthen it through the standard extension system rather than exiting at month twelve — which makes it the cheapest legal route to multi-year Philippine residence short of a proper resident visa.
Longer-Term Options Beyond Tourist Extensions
Plenty of people arrive on 30 days and quietly stay for years on extensions alone — the 36-month runway makes that possible. But if the Philippines is becoming your base rather than your holiday, three formal routes beat perpetual tourist status:
The Digital Nomad Visa. New as of 2025 (Executive Order No. 86) and rolling through its first full year in 2026, the DNV gives remote workers a one-year stay, renewable for a second year, with multiple entry. The headline requirements: you’re at least 18, you work remotely for clients or employers outside the Philippines, you can show foreign-sourced income of roughly $24,000 a year, you have health insurance covering your stay, a clean criminal record, and your country both offers a reciprocal arrangement to Filipinos and hosts a Philippine embassy where you can apply. Processing has been running anywhere from three weeks to three months. It’s a genuine alternative to the extension treadmill for the laptop crowd, with one trade-off: tourist extensions are discretionary but nearly automatic, while the DNV is a real application that can be refused.
The SRRV retirement visa. The Special Resident Retiree’s Visa, run by the Philippine Retirement Authority rather than the Bureau of Immigration, grants indefinite residence with multiple entry in exchange for a time deposit in a Philippine bank — from $10,000 to $50,000 depending on age, pension status, and program variant. It comes with work and study rights and exemption from the exit-clearance bureaucracy. If you’re 50 or older with a pension, it’s the most settled long-term status money can buy here.
The 13A marriage visa. Spouses of Filipino citizens can convert to permanent resident status in-country — a probationary year first, then permanent. It beats the balikbayan privilege once you’ve decided the move is permanent, since it doesn’t depend on traveling together or annual renewals.
For a first long trip, my advice is simpler: enter visa-free, extend as you go, and use the time to figure out whether the Philippines is a chapter or the whole book. The classic routes will fill three months without repeating an island, and the weather calendar matters more to trip quality than any visa logistics.
Overstaying: What It Costs and Where It Leads
The Philippines treats a short overstay as a fixable administrative problem and a long one as a serious offense, with a sliding scale between. Here’s the realistic picture.
Overstay by a few days or weeks, and you’ll pay the missed extension fees retroactively plus a monthly fine — in practice the all-in cost lands around ₱4,000 (roughly $70) per month of overstay, settled at an immigration office before you fly. The officers process it daily; nobody lectures you; but you cannot pay a meaningful overstay fine at the airport on departure day — turning up at NAIA with an expired stay and a boarding pass is how travelers miss flights. Go to an immigration office and regularize before you book the exit.
Cross six months of overstay and it stops being a fine-and-go situation: you’ll need to file a Motion for Reconsideration, a formal request to legalize your stay, with lawyer-grade paperwork and unpredictable timelines. Cross a year and you’re looking at a possible blacklist on departure — banned from re-entry — plus detention risk if you come to immigration’s attention before you leave voluntarily. I’ve met more than one traveler in a beach town who “lost track” of their stamp; the ones who fixed it at month two paid a bar tab’s worth of fines, and the one who fixed it at month nine needed a lawyer and four months of waiting. Set a phone reminder the day you land. It’s the cheapest insurance in travel.
Leaving After a Long Stay: The Exit Clearance (ECC)
The departure requirement almost nobody warns you about: if you stay in the Philippines for six months or longer, you must obtain an Emigration Clearance Certificate (ECC) before you can leave. It’s essentially a certificate that you have no immigration debts — and it is not optional. Airlines won’t board long-stayers without it.
For tourists, the relevant flavor is the ECC-A: apply in person at an immigration office at least 72 hours before departure (three to five working days is the safe window — you cannot get an ECC-A at the airport), bring your passport, your extension receipts, and a couple of passport photos, and pay roughly ₱700–1,300 (about $12–25) depending on fees and express charges. Biometrics are captured if you don’t already have an ACR I-Card. The certificate is valid for one month, so don’t collect it too far ahead of your flight either. Stays under six months exit with no clearance at all — this is purely a long-stayer’s chore.
While we’re on departure logistics: the Philippine travel tax (₱1,620) that confuses so many forum threads applies to Filipino citizens and resident foreigners, not to tourists on short stays — and for visitors staying under a year it’s generally a non-issue. eTravel registration, however, now applies on the way out as well as the way in, so do the five-minute form again before your departure flight.
Entry Requirements by Traveler Type

The two-week vacationer (US, UK, EU, Australian, Canadian passports). Your entire to-do list: check your passport has seven months of validity, register on etravel.gov.ph in the 72 hours before your flight, and carry your return booking. You will spend more time choosing between Cebu and Palawan than dealing with immigration. Skip the e-Visa entirely — it solves a problem you don’t have.
The backpacker on an open timeline. Enter visa-free, buy a throwaway onward ticket to Kuala Lumpur for the airline check-in desk, and plan your first extension for around day 25 — online, ten minutes, about ₱3,030. If the islands hook you (they will), file the LSVVE at the 59-day mark and stop thinking about visas until the monsoon arrives. Budget ₱200–400 a month for immigration costs in your overall numbers; it’s the cheapest line item of your trip.
The remote worker. You have a real choice in 2026 that didn’t exist two years ago. Under six months: stay a tourist, extend online, nobody minds you answering emails from a beach café. Settling in for a year or more with stable foreign income: the Digital Nomad Visa is worth the paperwork — legal clarity, multiple entry, no extension treadmill. What you can’t do on a tourist stay is take Philippine employment or freelance for Philippine clients; that’s 9G work-visa territory and enforcement is real, especially in the online-work hubs.
The balikbayan family. Book the same flights as your Filipino spouse or parent, ask for the balikbayan stamp at the counter together, carry the marriage or birth certificate, and enjoy a full year. If you forget to ask and get stamped 30 days, an immigration office can sometimes fix it after the fact — but it’s discretionary, slow, and easier to avoid by remembering at the counter.
Indian and Chinese passport holders. You’re the newest beneficiaries of the system, with the newest fine print. The stays are short (14 days; 30 for Indians with a strong third-country visa), non-extendable, and condition-laden — Chinese travelers need the hotel confirmation and onward ticket in hand. Build your itinerary around one region rather than trying to sprint the whole archipelago: two weeks covers one island group properly, and the policy is widely expected to keep evolving, so re-verify before each booking.
The Honest Gotchas
Every system has its sharp edges. These are the ones that actually cut travelers, ranked by how often I see them happen:
- The copycat-website tax. The single most common Philippines entry scam isn’t at the airport, it’s in your search results: paid ads for fake eTravel and e-Visa sites. Free form, .gov.ph domain, every time.
- Airline check-in is the real border. Passport validity and onward tickets get enforced by airline staff abroad, applying the rules more rigidly than any immigration officer. Sort both before you get to the counter, because the gate agent has no discretion to wave you through.
- The 59-day cliff. Day 60 without an ACR I-Card appointment booked means your next extension gets complicated. The card takes time to produce, and “I didn’t know” is the most expensive sentence in immigration.
- Extension timing. The eServices portal goes down for maintenance, payments fail, offices close for fiestas you’ve never heard of. Death-bed extensions are how careful people end up with overstay fines. Seven days of buffer, minimum.
- The ECC surprise. Six-month stayers who learn about exit clearance at the check-in desk don’t fly that day. Three working days before departure is the floor, not the target.
- Rules drift. The India and China policies are months old; fee schedules move; the digital nomad visa is still in its first full year. This guide was verified in June 2026 against the official sources below — for a trip six months from now, spend five minutes re-confirming on immigration.gov.ph before you book anything nonrefundable.
Frequently Asked Questions
Do US citizens need a visa for the Philippines?
No — US passport holders get 30 days visa-free on arrival for tourism. You need a passport valid six months beyond your stay, an onward or return ticket, and free eTravel registration within 72 hours before landing. The same applies to UK, Canadian, Australian, and EU passports.
How long can I stay in the Philippines without a visa?
The initial visa-free stay is 30 days for most nationalities (59 for Brazil and Israel, 14 for India, China, Hong Kong, Macau, and Taiwan). From there, visa-exempt nationals can extend repeatedly — first to 59 days, then in one-, two-, or six-month increments — up to a maximum of 36 continuous months.
What is eTravel, and does it cost anything?
eTravel is the Philippines’ mandatory online arrival and departure registration — a five-minute form at etravel.gov.ph that generates a QR code for immigration. It is completely free. Any site charging for it is an impostor. Register within 72 hours before each arrival and departure.
Do I need an onward ticket to enter the Philippines?
Officially yes, and your airline will almost certainly check at departure check-in even though Philippine immigration officers rarely ask. A cheap budget-airline one-way to any nearby country satisfies the requirement.
How do I extend my 30-day stay, and how fast is it?
Apply through the Bureau of Immigration’s eServices portal or at any immigration office. The first extension adds 29 days for around ₱3,030 (~$55) and is typically processed in minutes online or within a day in person. Apply at least a week before your current stay expires.
What happens if I overstay my visa in the Philippines?
Short overstays are settled with fines and back-paid extension fees — realistically around ₱4,000 (~$70) per month — at an immigration office before departure, not at the airport. Overstays beyond six months require a formal Motion for Reconsideration, and beyond a year risk blacklisting from future entry.
Does the Philippines offer a visa on arrival?
Not in the formal sense — what the Philippines offers is visa-free entry (better: no fee, no application) for about 160 nationalities. Travelers from visa-required countries must obtain a 9A visa from an embassy or an e-Visa before flying; there is no purchasing a visa at the airport.
Can I work remotely while visiting on a visa-free stay?
Working remotely for foreign employers and clients while on tourist status is common and not enforced against, but it occupies a legal gray zone. The clean solution since 2025 is the Digital Nomad Visa — one year, renewable, multiple entry, for remote workers earning around $24,000+ from outside the Philippines. Working for Philippine companies or clients on any tourist status is illegal.
Planning Your Trip Around the Rules
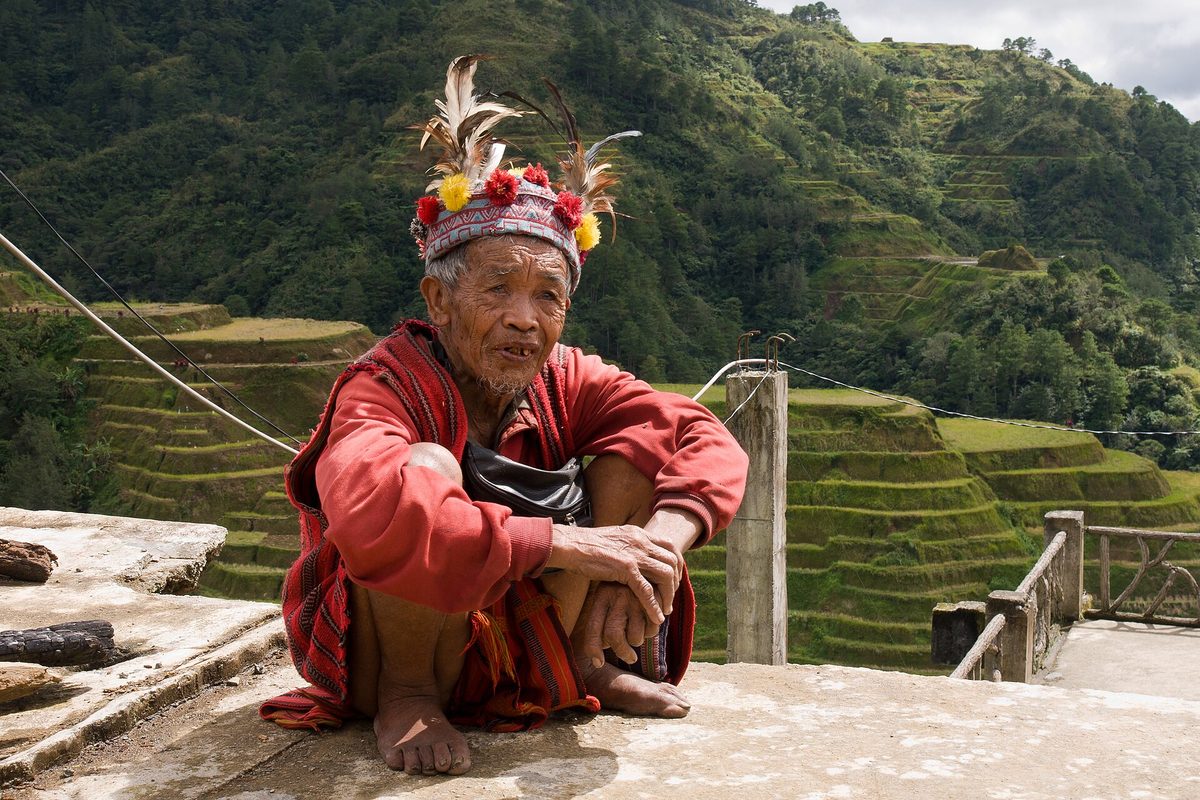
Once you see the whole system laid out, the planning logic gets simple. A standard 30-day exemption comfortably covers the classic first-timer loop — Manila in, a few days in the Visayas, a week in Palawan, out. If your dream itinerary runs longer, don’t contort the trip to fit 30 days; the ₱3,030 extension is cheaper than a single changed flight, and 59 days is where the Philippines really opens up — enough for the full north-to-south route with weather buffers built in, which matter more here than anywhere else I’ve traveled.
Two final planning notes with an immigration flavor. First, time your paperwork to the calendar, not just the trip: immigration offices and the eServices portal slow to a crawl around Holy Week and the Christmas season, exactly when peak travel season fills the islands — extend early in those windows. Second, keep a folder — physical or photos — of every stamp, receipt, and QR code from the day you land to the day you leave. The Philippine system is forgiving, cheap, and human, but it runs on paper trails, and the traveler with receipts always has the shorter conversation.
The paperwork, in the end, is the easy part of a Philippines trip. The hard part is accepting that whatever number of days you chose, it wasn’t enough — there are 7,641 islands, and the visa system, almost uniquely in the region, will let you keep going until you’ve seen your share of them.
Official Sources
Immigration rules change. These are the sources this guide was verified against in June 2026, and the only ones I’d trust for your travel dates:
- Bureau of Immigration Philippines — visa waivers, extensions, ACR I-Card, ECC
- BI eServices portal — online extensions and payments
- eTravel — the only official arrival/departure registration site
- Philippine e-Visa portal — official visa policy list and e-Visa applications
- Department of Foreign Affairs — embassy visa procedures and balikbayan guidelines
- US State Department — Philippines and GOV.UK Philippines entry requirements — nationality-specific advisories
Photo Credits
All photographs in this guide are used under their respective free licenses via Wikimedia Commons: NAIA aerial view (Manila International Airport Authority, public domain); El Nido lagoon (Marciano Villavito, CC BY-SA 4.0); Mactan-Cebu International Airport (Magalhães, public domain); Chocolate Hills, Bohol (Vyacheslav Argenberg, CC BY 4.0); Intramuros gate, Manila (P199, CC BY-SA 3.0); Philippine passport (Markadan, public domain); Banaue rice terraces with Ifugao elder (CEphoto, Uwe Aranas, CC BY-SA 3.0); Philippine Airlines A350 (John Andrei Policarpio, CC BY-SA 4.0).
About this guide: PhilippinesTourism.org publishes independent, research-driven guides to traveling the Philippines, written from on-the-ground experience and verified against official sources. Entry rules were last checked in June 2026. Start with our complete Philippines travel guide for itineraries, islands, and seasonal planning.