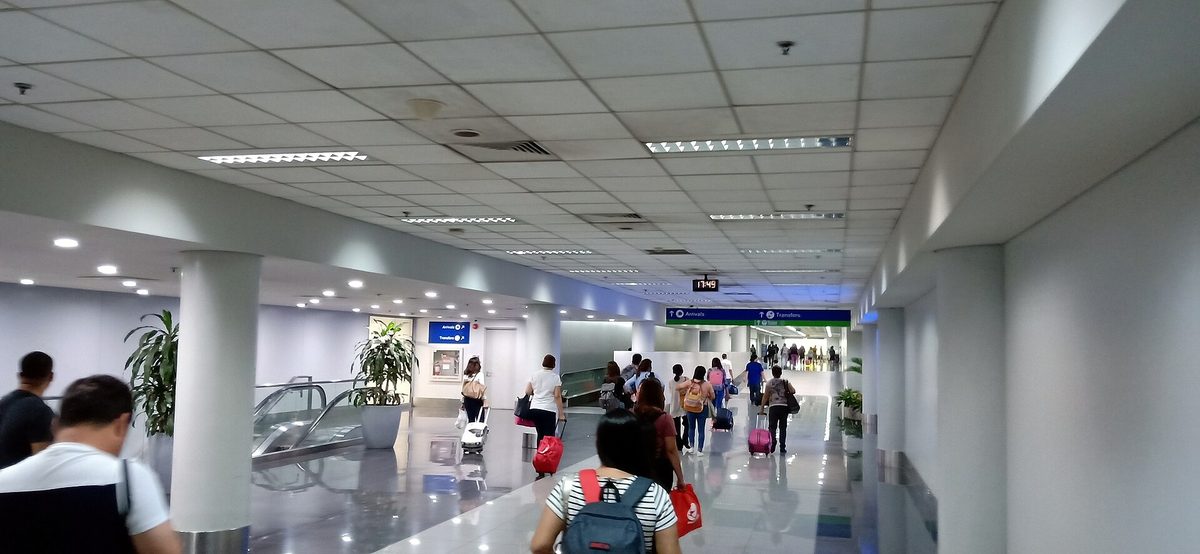
eTravel Philippines: The Official Registration Guide
Before you fly to the Philippines you have to fill out one short government form online, and the only place that form lives is etravel.gov.ph. It is free, it takes under ten minutes, and it ends with a QR code you show at the airport. That is the whole story. The complications come from the dozens of look-alike sites trying to charge you for it, so this guide walks you through the real one.
| Cost | Free. The official site never asks for payment. |
|---|---|
| Where | etravel.gov.ph (or the eGovPH app) |
| When | Within 72 hours (3 days) before you travel |
| What you get | A QR code, shown on your phone |
| Required? | Yes. For arrival, and for departing Filipino citizens |
| Time needed | Under 10 minutes |
| Bring | Passport, flight details, a Philippine address, an email |
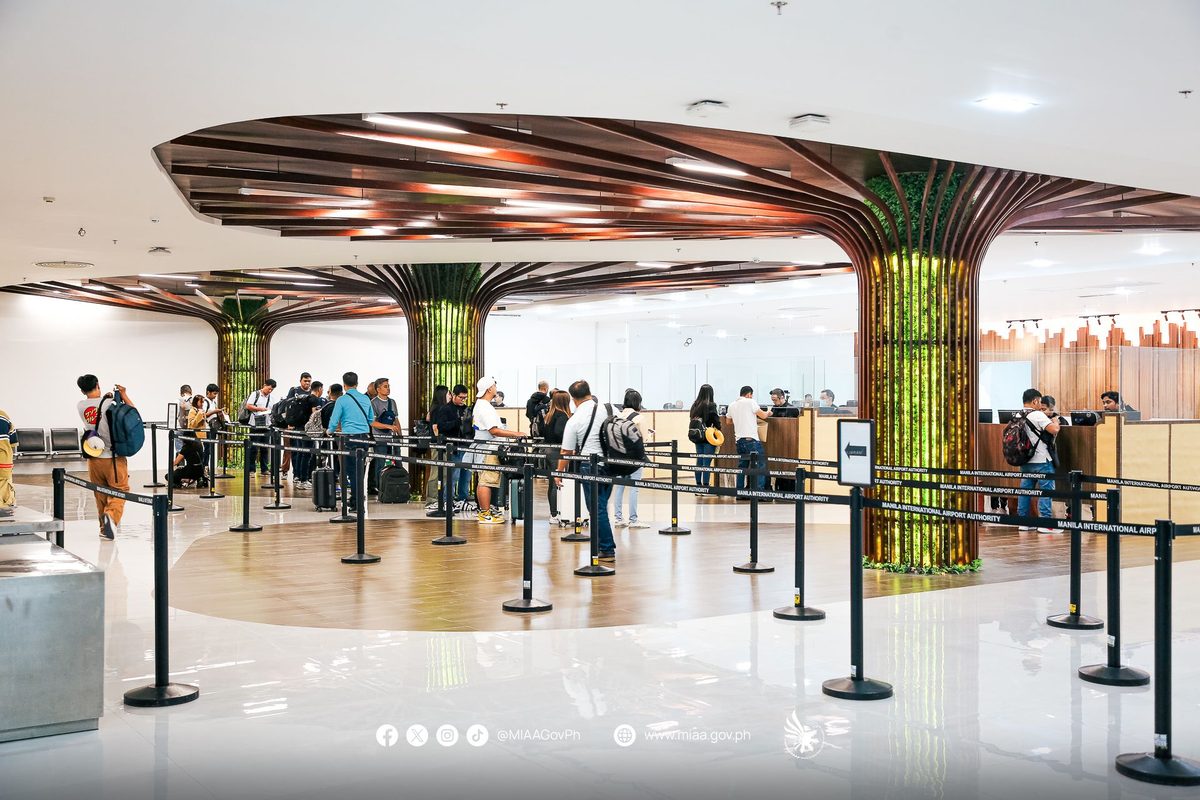
What eTravel is, and why the Philippines makes you do it
The eTravel system is the Philippine government’s single online form for everyone crossing the border, in either direction. It rolled out as the permanent replacement for the old paper arrival card and the One Health Pass that COVID-era travelers may remember. The official description is dry but worth reading once: it is a “digital single data collection platform” used for border control, health surveillance, and economic data. In plain terms, the government wants your passport, flight, and contact details in a database before you land instead of on a paper slip you scribble on the plane.
Three separate forms now sit inside that one registration. There is the immigration declaration (who you are and where you are staying), the Electronic Health Declaration Card or eHDC (a short health questionnaire run by the Bureau of Quarantine), and, since May 2024, the customs forms. Those last two are the part most older guides get wrong, so I will come back to them. The point is that one submission now covers immigration, health, and customs, and it spits out one QR code that all three desks can scan.
Is it annoying? A little. Is it a scam, a tax, or a visa? No. eTravel is not a visa and it does not replace one. If your nationality needs a visa for the Philippines, you still need it; if you enter visa-free, eTravel does not change that. It sits underneath all of that as a registration step. For the bigger picture on who needs a visa and who does not, see our guide to Philippines visa and entry requirements, which is the parent guide this article belongs to.
Use the official site: eTravel Philippines vs the look-alikes
This is the single most important section, so I am putting it near the top. The official eTravel website is etravel.gov.ph. That is it. The government has said it plainly: “The eTravel service is free of charge. Any website using the eTravel name and logo is fake and is a scam.” You can also register inside the official eGovPH app from the Apple App Store or Google Play, which is run by the same government digital agency.
Now the bad news. If you search for eTravel, the first page of results is stuffed with sites that are not the government’s. They have names like etravel-something.ph, etravel-something.org, or “eTravel Pass” and “eTravel Departure Card” domains, and several rank above the real one. They copy the layout, sometimes the logo, walk you through a form that looks identical, and then ask for a fee, usually charged in US dollars so it lands as roughly ₱3,000 to ₱5,000 on your card. The Cybercrime Investigation and Coordinating Center flagged a batch of these as fake, and the Bureau of Immigration keeps re-issuing warnings before every holiday rush because new ones keep appearing.
Here is how to tell the real one from a fake in five seconds:
- Check the domain. The address bar must read exactly
etravel.gov.ph. A real Philippine government site ends in.gov.ph. A “.org“, “.com“, or hyphenated “.ph” version is not it. - It must be free. The official form never asks for a card number or any payment. The instant a site asks you to pay, close the tab.
- No “agent” is needed. There is no service to buy. You do this yourself in ten minutes; nobody legitimate sells a faster lane.
If you have already paid one of these sites, the practical move is to dispute the charge with your bank and then register again, for free, on the real site, because the look-alike’s “confirmation” is worthless at the airport. You can report the fraudulent site to the CICC at cicc.gov.ph/report. Worrying that you got scammed before a trip is no fun; if you are weighing up the country in general, our take on whether is the Philippines safe may put your mind at ease, because the eTravel look-alikes are an online annoyance, not a reflection of travel on the ground.
What you need before you start
Gather these four things first and the form takes about eight minutes. Hunt for them mid-form and it takes thirty.
- Your passport. You will type your passport number, full name, sex, date of birth, citizenship, and country of birth exactly as printed. “Exactly” matters; a mismatch is the most common reason for a problem at check-in.
- Your flight details. Airline, flight number, the country you are flying from, and your arrival date and time. Have your booking confirmation open in another tab.
- A Philippine address. Where you are staying on your first night, hotel or a friend’s home, with the city. If you are still deciding, our help with planning your itinerary will at least pin down your first stop, which is all the form needs.
- An active email. The system sends a verification code to it and your QR code lands there too, so use one you can open on your phone.
You do not need to upload documents, you do not need to download an app (the website works fine in any phone or laptop browser), and you do not need to pay. You do need an internet connection while you fill it in, so do it on hotel Wi-Fi the day before rather than gambling on airport signal.
How to register for eTravel: a step-by-step walkthrough
Here is the real flow, screen by screen, for an arriving traveler. The departure flow is nearly identical and I cover the difference below.
- Go to etravel.gov.ph and create an account. Click “Sign In”, then “Create an account”. Enter your email and tap continue. The system emails you a six-digit one-time code; check your inbox (and spam), then type the code back in to verify your address.
- Set a password. Minimum eight characters. This is the login you will reuse on every future trip and to retrieve your QR code if you lose it, so do not invent a throwaway you will forget by the airport.
- Enter your personal details. Full name, sex, date of birth, citizenship, country of birth, and passport number, all matching your passport. Then your contact details: mobile number with country code, your home country of residence, and your address in the Philippines.
- Start a trip and choose arrival. As a returning user you select your transport method (air or sea) and then “Arrival” because you are entering the country. Do this only once you are inside the 72-hour window; the system will not accept a registration submitted more than three days out.
- Fill in your travel details. Occupation, purpose of travel, the country you are coming from, then your flight number, airline, arrival date, the airport, and your seat number if asked.
- Complete the health declaration (eHDC). A short questionnaire: countries you have been in recently and your current health status. Answer it honestly; this is the part that decides your QR color, which I explain next.
- Complete the customs declaration. Since May 2024 the customs baggage form (e-CBDF) is built in and all arriving passengers fill it out. If you are carrying foreign currency over the equivalent of US$10,000, or more than ₱50,000 in Philippine pesos, you must also complete the currency declaration (e-CDF) and declare the full amount. Under those thresholds, you just confirm you are under them.
- Review, submit, and save your QR code. Check the name and passport number one more time, submit, and then screenshot or download the QR code immediately. You can also print it. Do not close the tab until it is saved on your phone.
That is the entire process. If you have registered before, you do not start from scratch: log in and use the “Edit Registration” tab to update your details for the new trip. Your account remembers you between visits.
Arrival vs departure: two registrations, not one
This trips people up, so read it twice. eTravel covers both directions, but they are separate registrations, and the departure rule is narrower than the arrival rule.
Arriving in the Philippines: every passenger registers, Filipino and foreign, by air or sea, whatever your nationality or visa. This is the one nearly everyone reading this needs.
Leaving the Philippines: the departure registration is required for departing Filipino citizens. As a practical matter, departing foreign tourists are generally not required to file the departure card, though the rules are written around Filipino departures and airlines occasionally ask, so if a check-in agent requests it, you can complete the departure form in the same ten minutes. Filipinos and dual citizens flying out should plan to do it as a matter of course.
The mechanics are the same either way. You log into the same account, pick “Departure” instead of “Arrival”, enter your outbound flight, and get a fresh QR code for that leg. One registration does not cover a round trip; arrival and departure are filed separately, each within 72 hours of that specific flight.
The QR code at the airport: green, red, and what actually happens
Your QR code is the payoff, and it comes in two colors. After you submit, the Bureau of Quarantine reviews your health answers and issues either a green or a red code.
A green QR code means your submission is complete and your health answers raised no flags. You walk straight to immigration on arrival, no extra health stop. This is what the vast majority of travelers get.
A red QR code is not a punishment and does not mean quarantine by default. It is issued when data is incomplete or incorrect, or when you reported illness or recent exposure to a communicable disease in the past 30 days. It routes you to a Bureau of Quarantine check before immigration, where staff verify your information and decide whether anything further is needed. Most of the time, a red code that came from a typo is cleared in minutes. The lesson is to fill the form in carefully so a clerical slip does not send you to the health desk.
You do not have to print anything. Showing the QR code on your phone screen is fully accepted at every Philippine airport, and you can print it if you prefer a backup. Save it offline before you fly, because terminal Wi-Fi is unreliable and you do not want to be reloading a webpage while a queue builds behind you. The flow on the ground is simple: airline staff check your QR code and passport before you board at your origin airport, immigration scans it on arrival, and customs scans the same code at the baggage lane. One code, three desks.
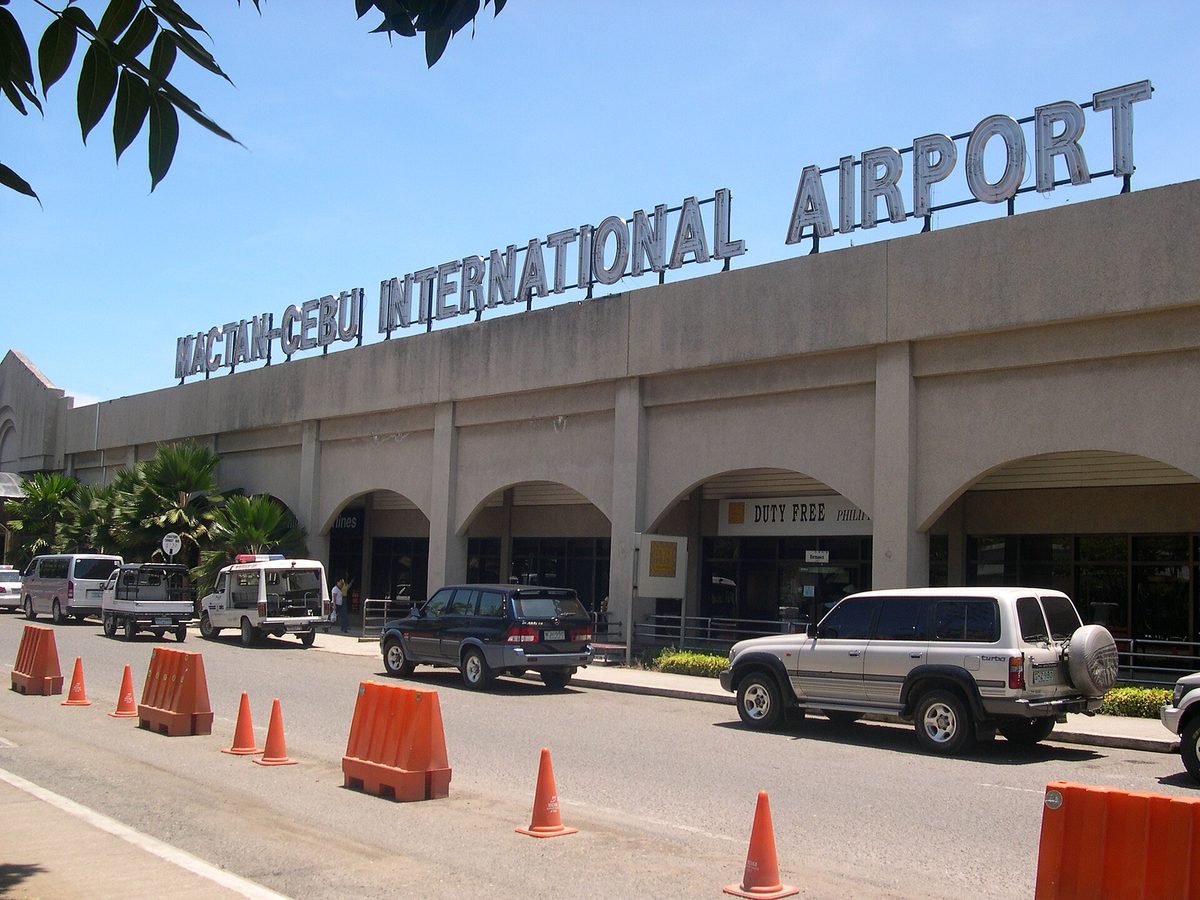
Where you land matters less than you would think, because the requirement is identical at every gateway: Manila’s Ninoy Aquino International Airport (NAIA) Terminals 1, 2, and 3, Mactan-Cebu, Clark, and the smaller international ports all run the same system. One 2026 wrinkle worth knowing if you connect through Manila: the airport’s private operator, NNIC, reshuffled which airlines use which NAIA terminal in the first half of 2026, so confirm your terminal on your airline’s app rather than from an old blog. eTravel itself does not care which terminal you use. For the lay of the land once you clear the doors, our guide to arriving at Manila’s NAIA airport covers the terminals and the taxi situation.
Common mistakes and how to fix them
Nearly every eTravel problem is one of five things, and all five are avoidable.
- You registered too early. The window is 72 hours before travel, not a week. If you tried at booking time it did not save. Set a phone reminder for three days out.
- Your passport details do not match. A wrong middle name, a transposed passport number, the wrong nationality, any of these can trigger a red code or a check-in holdup. Copy them straight off the passport, not from memory.
- You closed the tab before saving the QR code. The fix is built in: go to etravel.gov.ph/search, enter your reference number and date of birth, and retrieve your code. You can also reach it through the “Edit Registration” tab after logging in.
- You registered twice. If you accidentally submitted more than once, that is fine, but pick one QR code and present only that one. Flashing two different codes at the desk just slows you down.
- You spotted a mistake after submitting. As long as border officials have not yet processed you, you can still edit your information through the “Edit Registration” tab. Fix it before you reach the airport if you can.
One more, because it is the expensive one: if a “registration” charged you money, that was a fake site, not a slip on the form. Re-register on etravel.gov.ph for free and treat the charge as a fraud dispute with your bank.
Who is exempt, and other edge cases
The exemption list is short and specific. According to the official eTravel rules, the people who do not have to register are foreign diplomats and their dependents, foreign dignitaries and members of their delegation, holders of diplomatic and official or service passports, and 9(e) visa holders (a diplomatic and consular category). If you are a regular tourist, a returning resident, a digital nomad, or a balikbayan, none of that applies to you and you register like everyone else.
A few situational notes:
- Children and infants. Every traveler needs their own registration and their own QR code, including kids. A parent or guardian fills out the form using the child’s own passport details.
- Transit passengers. If you stay airside on a connection and never clear Philippine immigration, you generally do not register. The moment you pass through immigration, even briefly, you do. When in doubt, ask your airline how your specific transit is handled.
- Sea travelers and cruises. eTravel is not just for flights. Arriving and departing by sea is covered too, and the platform has a cruise registration option for cruise passengers leaving from Philippine seaports.
- Crew members. Filipino and foreign crew register as well, through their own category rather than the standard passenger flow.
A quick note by traveler type
Foreign tourists: you register for arrival, full stop. Have your QR code saved before check-in at your origin airport because your airline will ask for it there, not just Philippine immigration. Departure registration is generally not demanded of foreign tourists, but keep ten minutes free in case an agent asks.
Returning Filipinos and balikbayans: you register for both arrival and departure. The balikbayan privilege (visa-free entry for former Filipinos and their families under the Balikbayan Program) is a separate immigration benefit and does not exempt you from eTravel; you still file the form like everyone else, you simply also enjoy the longer stay at the immigration counter.
Sea travelers: whether you arrive on a ferry from a neighboring country or sail out on a cruise, eTravel applies and the cruise option is built into the site. Register inside the same 72-hour window as you would for a flight.
Once you are through immigration and have your bags, the form is behind you for that leg. If you want to think ahead to the fun part, here is how getting around once you land actually works, from domestic flights to ferries and ride-hailing.
eTravel frequently asked questions
Is eTravel registration really free?
Yes. eTravel is completely free on the official site, etravel.gov.ph, and the government has stated outright that any site charging a fee is fake. There is no payment step, no “service charge”, and no agent to hire. If a website asks for your card details to register, it is a scam; close it and use the official site instead.
How long before my flight can I register for eTravel?
You can register within 72 hours (three days) before your arrival or departure, and no earlier. The system rejects submissions made outside that window, so registering at booking time will not work. The sweet spot is the day before you fly, on stable Wi-Fi, once you have your final flight details in hand.
Do I need to print my eTravel QR code?
No. Showing the QR code on your phone screen is fully accepted at Philippine airports and seaports. Printing is optional and only useful as a backup. The important thing is to save the code offline, by screenshot or download, before you travel, so you are not depending on airport internet to pull it up at the desk.
Is eTravel the same as a Philippine visa?
No. eTravel is a registration form, not a visa, and it does not grant entry on its own. If your nationality requires a visa, you still need to obtain one separately; if you qualify for visa-free entry, eTravel does not change that. Think of it as the arrival paperwork that sits alongside whatever visa status you already hold.
What happens if I do not register for eTravel?
You risk being denied boarding at your origin airport, because airlines check for the QR code at check-in, and you can be held up at Philippine immigration or customs on arrival. Paper customs forms may still exist at the airport as a fallback, but relying on them invites delay. It is far easier to spend ten minutes online beforehand.
Do children and babies need their own eTravel registration?
Yes. Every traveler needs an individual registration and QR code, regardless of age, including infants. A parent or guardian completes the form on the child’s behalf using the child’s own passport details. There is no family group code; each person is scanned separately at immigration.
Sources and photo credits
Photo credits
- Photo: RoyKabanlit / CC BY-SA 4.0 via Wikimedia Commons — source
- Photo: Magalhães (CC0) via Wikimedia Commons — source
- Photo: Manila International Airport Authority (CC0) via Wikimedia Commons — source
- Photo: Huddyhuddy (CC0) via Wikimedia Commons — source
- Photo: jopetsy / CC BY 2.0 via Wikimedia Commons — source
Sources
- eTravel official portal (etravel.gov.ph) and its official Frequently Asked Questions — the authoritative source for who must register, the 72-hour window, free-of-charge policy, and the green/red QR code system.
- Bureau of Immigration: eTravel registration is free of charge — the BI advisory confirming the service is free and warning against fake sites.
- Bureau of Customs: one QR code in the eTravel system — details the May 2024 integration of customs (e-CBDF) and currency (e-CDF) declarations and the US$10,000 / ₱50,000 thresholds.
- Department of Foreign Affairs (DFA) — for embassy and consulate advisories on entry, visas, and the eTravel customs rollout for your specific nationality.
About this guide: PhilippinesTourism.org independently researches Philippine travel logistics; entry rules change, so verify with official sources before you fly. Verified June 2026.
1 response
Comments are closed.