Philippines Packing List: What to Bring (and Skip)
Pack light, pack for water, and buy the bulky stuff when you land. For most trips you want quick-dry tropical clothes, one modest layer for churches and Manila malls, reef-safe sunscreen, a dry bag, and plenty of small peso bills — and you can safely skip heavy clothes, a third pair of shoes, and full-size toiletries. A universal adapter and a power bank earn their space too.
I have flown into Manila, Cebu, Caticlan and Puerto Princesa with everything from a 40-litre carry-on to a checked dive bag, and the same lesson keeps repeating: the people who suffer here are the ones who overpacked clothes and underpacked for getting wet. This guide is built around that. If you want the bigger picture of where you are actually going and when, start with our Philippines itinerary guide and then come back to load the bag. Below is exactly what I bring, what I leave at home, and what I buy on arrival — with honest calls and 2026 prices in pesos and dollars (I use roughly ₱58 = $1; check the current rate before you travel, as it drifts).
The Philippines packing list at a glance
Here is the whole trip in one table. If you read nothing else, read this, then pack the dry bag first.
| Category | Bring | Skip / note |
|---|---|---|
| Documents & money | Passport (6+ months validity), 2 paper copies, debit/credit cards, a wad of small peso bills (₱20–₱100), a little USD as backup | Skip travellers’ cheques and relying on cards outside cities. Most island tours, tricycles and sari-sari stores are cash only |
| Clothing | Quick-dry t-shirts, shorts, 2–3 swimsuits, a light rain layer, ONE modest layer (shoulders/knees covered) for churches and over-air-conditioned malls | Skip jeans, hoodies, anything heavy or “just in case.” Cotton stays damp and starts to smell in the humidity |
| Footwear | Sturdy sandals, reef/water shoes, one closed pair (trainers) for hikes and rainy streets | Skip the fourth pair. Three is already one too many for most people. No need for hiking boots |
| Beach & water | Reef-safe (mineral) sunscreen, a 10–20L dry bag, a quick-dry towel, a waterproof phone pouch | Snorkel and mask optional — you can rent. Skip oxybenzone/octinoxate sunscreen; some marine parks turn it away |
| Health | DEET or picaridin repellent, motion-sickness tablets, a small first-aid kit, any prescriptions in original packaging | Skip the pharmacy you can buy on the corner. Bring what you specifically need; dengue is real, so repellent is not optional |
| Electronics | Universal adapter (Type A/B/C, 220V), a 10,000–20,000mAh power bank, eSIM or local SIM, charging cables | Skip a voltage converter (almost all phones/laptops are dual-voltage). Skip the hairdryer; bring a small one only if you must |
| Wet-season extras | Packable rain jacket or poncho, dry bag (again), a microfibre towel, fast-drying everything | Skip the umbrella unless you love carrying it; the wind flips it. Closed shoes beat sandals on flooded streets |
That table is the spine of this guide. The rest is the “why,” the honest trade-offs, and the by-traveller and by-season tweaks that the gear-list blogs skip.
Documents and money: the stuff that actually ruins trips when you forget it
Lose a t-shirt and you buy another for ₱200 ($3.50). Lose access to cash on Coron when the only ATM is empty and your card will not work, and your day stops. So this is where I am most careful.
Bring your passport with at least six months of validity and two printed copies (one in your daypack, one buried in your main bag), plus a photo of the ID page on your phone and in your email. Most visitors get a 30-day visa-free entry on arrival and can extend it at a Bureau of Immigration office, but rules shift, so confirm your nationality’s current allowance before you fly. Airlines at check-in increasingly ask for proof of onward travel, so have a return or onward ticket ready.
Now the money, because this is where first-timers get it wrong. The Philippines is still a cash-first country the moment you leave the big-city malls. Cards work fine at Manila and Cebu hotels, chain restaurants and supermarkets, but island-hopping boats, tricycles, jeepneys, market stalls, small guesthouses and the little sari-sari stores are cash, cash, cash. Worse, nobody has change. Hand over a ₱1,000 note for a ₱60 fare and you will get a long, pained look. So the single best money move is to break big bills constantly and hoard ₱20, ₱50 and ₱100 notes. I pull cash from a bank ATM in a city (BPI, BDO and Metrobank are reliable; expect a ₱250 / about $4 fee per withdrawal and a per-transaction cap often around ₱10,000, sometimes higher), then immediately buy something small to break the notes.
Carry a modest USD backup (a few clean, uncreased $20 bills) for emergencies and money-changers. Tell your bank you are travelling so the card does not freeze. A slim money belt or a zip pocket is worth it on crowded ferries and markets — not because the Philippines is dangerous, but because pickpocketing exists anywhere with crowds; our honest take on safety goes deeper. If you want to know what your days will actually cost so you bring the right amount, our breakdown of travel costs is the companion piece to this list.
Clothing: lightweight, quick-dry, and one layer for modesty
The climate does the packing for you here. It is hot and humid most of the year, so you want loose, light, quick-dry fabrics and very little else. Cotton feels nice for an hour, then holds sweat and sea damp and turns your bag musty. Synthetics and merino dry overnight; that is the whole game.
My actual clothing list for two weeks fits in a carry-on: four or five quick-dry t-shirts, two pairs of shorts, one pair of light long trousers or hiking pants, two or three swimsuits (you rotate them because one is always wet), underwear and socks, and a sleep set. Add a light rain shell year-round, because tropical showers gatecrash even the dry season.
The piece people forget is one modest layer. The Philippines is largely Catholic with significant Muslim regions in Mindanao, and you will want covered shoulders and knees to enter churches like the Basilica del Santo Niño in Cebu or any mosque, and to feel comfortable in more conservative provincial towns. A light scarf or sarong does double duty: temple cover-up, beach mat, sun shade, airplane blanket. It also handles the other surprise — Philippine malls, cinemas and long-distance buses crank the air-conditioning to near-arctic, so a thin long-sleeve layer keeps you sane. Beyond that one nicer outfit for a resort dinner, leave the fashion at home. Nobody on a bangka cares.

Footwear: three pairs, no more
Shoes are where overpackers lose the most space, so I am strict: three pairs, maximum, and most people could do two.
- Sturdy sandals — your default. Sport sandals with a back strap (Tevas, Chacos or the local rubber equivalent) survive boats, beaches, dusty streets and the take-your-shoes-off-indoors custom. Worth every peso.
- Reef or water shoes — do not skip these. Beach entries here are often rocky, sharp with dead coral, or home to the occasional sea urchin, and you should never stand on living coral. A cheap pair saves a cut foot that ends your snorkelling. You can buy basic ones in any beach town for ₱300–₱600 ($5–$10) if you would rather not pack them.
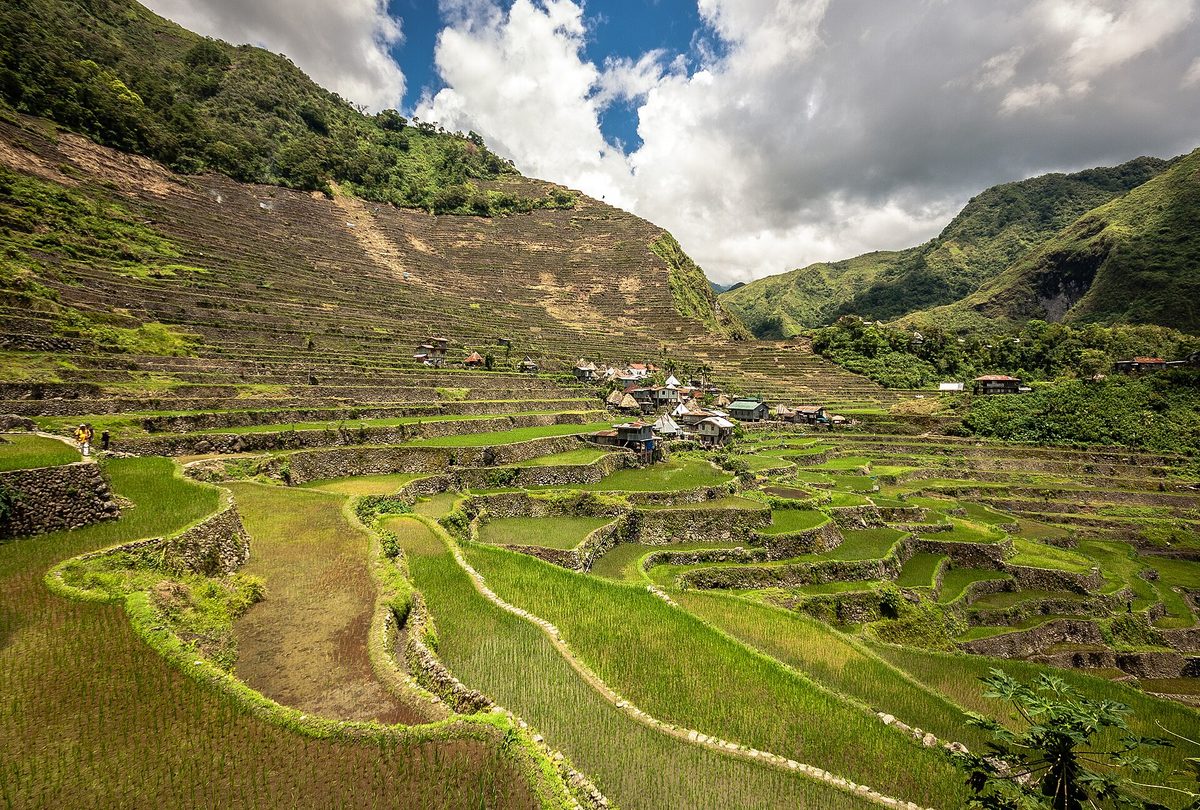
- One closed pair — lightweight trainers for hikes (Kawasan Falls canyoneering, Batad rice terraces, the odd volcano), long travel days, and flooded streets in the wet season, when sandals just fling dirty water up your legs.
Skip the hiking boots. The terrain rarely needs them and they eat half your bag. Flip-flops are handy for guesthouse showers, and you can buy a ₱100 ($1.70) pair of the legendary local rubber slippers the day you arrive, so there is zero reason to pack those.
Beach and water gear: this is the part that matters here
This is the section that separates a Philippines packing list from a generic tropics list. You will spend serious time on boats and in the sea, and your gear has to survive both. The golden rule I tell everyone: if it cannot get wet, it does not come on the boat unless it is inside a dry bag.
A dry bag is the single most important item on this page. Island-hopping here means a wooden bangka outrigger, spray over the bow, your bag sitting in an inch of bilge water, and a wet scramble on and off the beach. A 10-litre roll-top dry bag handles a day trip (phone, cash, dry shirt, sunscreen); go 20 litres for multi-day hops or if you carry a camera. They cost ₱300–₱800 ($5–$14) in any tourist town, but I bring my own so I am not scrambling at 7am. Pair it with a floating waterproof phone pouch — you will want your phone for photos in the water, and a pouch that floats means a dropped phone does not sink into a lagoon. For the full picture of how these boat days actually work, see our guide to island hopping.
Reef-safe sunscreen is now close to mandatory in the best spots. The sun here is brutal and unfiltered, but standard sunscreens with oxybenzone and octinoxate damage coral, and the marine-protected areas have noticed. Boracay, El Nido and a growing list of marine parks and tour operators actively push reef-safe (mineral) sunscreen, and some checkpoints will turn away or ask you not to use the chemical stuff before you enter the water. Bring a mineral sunscreen with zinc oxide or titanium dioxide (and skip anything listing oxybenzone, octinoxate or octocrylene). It is genuinely hard to buy good reef-safe sunscreen locally and it is pricey when you find it, so this is one item I pack from home in full. A long-sleeve rash guard does half the job without any cream washing into the sea, and I wear one on every boat day.
Round it out with a quick-dry microfibre towel (a normal beach towel never dries and starts to smell), and a snorkel and mask only if you are fussy — rentals are everywhere for ₱100–₱200 a day, so for a casual trip I would skip packing your own. A reusable water bottle is smart too; the Philippines is cutting plastic and refills are easy.

Health: small kit, big payoff
You do not need a field hospital, but a few small items prevent the most common ways a Philippines trip goes sideways. Pharmacies (Mercury Drug is everywhere) are cheap and well stocked in towns, so the strategy is: bring the specific things you need, buy the generic things on the corner.
- Insect repellent — not optional. Dengue is present year-round and several health authorities flagged the Philippines for elevated dengue risk again in 2026. Pack a repellent with at least 30% DEET or 20% picaridin, and reapply at dusk. Treating clothes with permethrin before you travel adds a layer if you are heading somewhere buggy. A long-sleeve layer in the evening helps too — that modesty shirt earns its keep.
- Motion-sickness tablets — the unsung hero. Bangka boats and inter-island ferries bounce hard in any swell, and the wet-season crossings are worse. Dramamine or the local Bonamine taken 30 minutes before boarding has saved many a green-faced traveller. Buy Bonamine locally for pennies if you forget.
- A basic first-aid kit — plasters, antiseptic, blister care, antihistamine, anti-itch cream for the bites you will still get, rehydration salts, and an anti-diarrhoeal such as loperamide. Sanitation varies and a dodgy meal happens; you want this at 2am, not at a closed pharmacy.
- Prescriptions — bring enough for the whole trip in original labelled packaging, plus a copy of the prescription. Do not assume your specific medication is stocked on a small island.
- Anti-fungal powder — an unglamorous tip that the humidity will make you grateful for. Wet feet plus heat equals fungal trouble; prevention is easier than cure.
Buy travel insurance that covers water activities before you leave home, and make sure boat trips and diving are actually included if that is your plan.
Electronics: adapter, power bank, connectivity
Get three things right and the rest is cables. The Philippines runs on 220 volts at 60Hz, with sockets that take Type A (two flat pins), Type B (two flat pins plus ground) and Type C (two round pins). American flat-pin plugs often physically fit, but the voltage is double the US standard, so this matters:
- A universal travel adapter — bring one. Sockets vary even within a single guesthouse, and a universal adapter covers all three types. Cheap, light, essential.
- Check voltage, skip the converter — almost every modern phone, laptop and camera charger is dual-voltage (it will say “100–240V” on the brick), so it just works on 220V. The thing that fries is a single-voltage 110V appliance like a cheap US hairdryer or straightener. Leave those at home; most hotels provide a hairdryer, or buy a local 220V one.
- A power bank — a 10,000–20,000mAh bank is one of my top three items. Island tours run all day with no outlets, ferries are long, brownouts happen, and you will burn battery on photos and maps. Keep it in your carry-on, never checked, per airline rules.
For connectivity, sort a SIM or eSIM. Globe and Smart both sell tourist data plans, and a Globe or Smart eSIM you can install before you even land is the easiest option on a compatible phone — expect roughly ₱1,500–₱2,500 ($26–$43) for a generous month of data. Many Filipino guesthouses and tour operators have no website and answer only by phone or Facebook Messenger, so having a local number genuinely helps — and since English is spoken almost everywhere in the Philippines, a two-minute call sorts what an email never will. Coverage is good in towns and patchy on remote islands, which is half the charm. For how connectivity ties into actually moving between islands, see getting around.

What to skip: leave this at home
The number-one packing mistake here is bringing too much. You move a lot — flights with tight baggage limits, ferries, tricycles, beach scrambles — and every extra kilo is a kilo you lug across the archipelago for no reason. Here is what I see people regret bringing.
- Heavy clothes, jeans and hoodies. It is hot and humid. You will wear the lightest thing you own every single day and the rest is dead weight. One light layer is plenty.
- A fourth and fifth pair of shoes. Three is the ceiling. I have watched people carry hiking boots for two weeks and never lace them once.
- Full-size toiletries. Shampoo, soap, toothpaste, deodorant, razors, tampons and pads are cheap and everywhere in Mercury Drug and supermarkets. Bring a few days’ worth in travel sizes and restock locally. Hauling litres of liquids is pure wasted weight (and a checked-bag problem).
- Expensive jewellery and watches. No upside. It only makes you a target in a crowd and worries you on the beach. Leave the nice things at home.
- A voltage converter (for most people). As above, dual-voltage electronics do not need one. Only single-voltage appliances do, and you should not be bringing those.
- Too much cash on your body. Bring some, but you do not need a brick of pesos in your pocket; ATMs exist in every city. Spread it out.
- A giant suitcase. Hard four-wheelers are miserable on sand, gravel and boat ramps. A backpack or a soft carry-on duffel travels far better here.
My rule of thumb: lay out everything you think you need, then put a third of it back. You will buy what you actually miss for a few dollars, and you will be glad you have a half-empty bag for the shell, the sarong and the dried mangoes you carry home.
Pack for the season: dry versus wet and typhoon
When you go changes the bag more than where you go. The Philippines has a dry season (roughly November to May) and a wet season (roughly June to November) that overlaps the typhoon window, and the timing varies by region because the archipelago is huge. Get the season right and you pack confidently; our guide to the best time to visit will tell you, month by month, what you are walking into.
Dry season is the easy pack: sun gear, swimwear, light layers, and still a packable rain shell because tropical showers ignore the calendar. This is peak season, so book ahead.
Wet season and typhoon months need a few additions, and they are not just “an umbrella.” Bring a proper packable rain jacket or poncho (umbrellas flip inside out in the wind, so I rate a poncho higher), quick-dry everything because cotton simply will not dry between downpours, and your dry bag becomes a daily item, not just a boat item, to keep documents and electronics safe in surprise rain. Swap sandals for closed quick-dry shoes on days you expect flooded streets. Crucially, build buffer days into your plan: ferries get cancelled and small-island flights get grounded when the weather turns, so a packing list cannot save a schedule with no slack. Read our typhoon season guide before you lock in wet-season dates, and do not let the rain scare you off entirely — shoulder months can be glorious and cheap.
Tweak the bag for your kind of trip
The core list is the same for everyone, but four traveller types each add or drop a few things. Find yourself below.
The diver
If you are coming for the underwater, the Philippines is world-class, and your bag changes. Bring your own mask at minimum (a fitted mask beats any rental), a dive computer if you have one, and your certification card and logbook. A 3mm shorty or rash guard handles the warm water on most sites. You can rent the rest, and shipping a full kit across small-plane baggage limits is rarely worth it unless you are doing a dedicated trip. A surface marker buoy and a save-a-dive kit are nice touches. See our diving guide for where to point all that gear.
The backpacker
One 40–50L pack, carry-on size to dodge baggage fees on the budget airlines, and ruthless discipline. You live in two shirts and a swimsuit, you do laundry every few days (it is cheap and everywhere), and the dry bag doubles as your valuables safe. A padlock for hostel lockers, a quick-dry travel towel, a headlamp for dark provincial nights and brownouts, and a universal adapter round it out. This is the style our 2-week Philippines itinerary is built around.
The flashpacker or luxury traveller
You can afford to check a bag and bring the camera, the nicer resort outfits, the drone (register it and check local rules), and the good toiletries — this is also the packing brief for most Philippines honeymoons. You will still want the dry bag and reef-safe sunscreen, because the lagoons do not care about your budget, and a power bank, because even five-star island resorts have boat transfers with no outlets. The one thing money cannot skip here is small bills for tips and tricycles.
The family
Double down on reef-safe sunscreen, rash guards and water shoes for everyone (kids’ feet and reefs do not mix well), pack any child-specific medicine and rehydration salts, and bring a few familiar snacks for travel days. Nappies, wipes and formula are available in city supermarkets but not on remote islands, so stock up before you island-hop. Build in shorter boat days; little ones and long bangka rides are a tough combination.
Your final checklist: print it, pack it, prune it
So here is the whole philosophy of a good Philippines packing list in three lines: pack light, pack for water, and buy the bulky stuff locally. The travellers who love their trip here are carrying a half-full bag with a dry bag clipped to it; the ones cursing on a beach ramp are dragging a hard-shell suitcase full of jeans and full-size shampoo.
Run the at-a-glance table at the top one more time, lay everything on the bed, then put a third of it back. Confirm the four things you genuinely cannot improvise on arrival — passport and copies, reef-safe sunscreen, a universal adapter, and your specific medications — and trust that pesos, slippers, snorkels, towels and toiletries are all waiting for you cheaply when you land. Then go enjoy the islands. For the bigger plan of where all this packing is heading, our 1-week itinerary is a good place to start.
Frequently asked questions
What should I not bring to the Philippines?
Leave heavy clothes, jeans, hoodies, a fourth pair of shoes, full-size toiletries, expensive jewellery and a voltage converter (for dual-voltage gear) at home. Shampoo, soap, sunblock for the body, flip-flops and snorkels are all cheap and widely available locally, so packing them is wasted weight. The biggest mistake is simply overpacking; a half-empty bag is the goal.
Do I need a power adapter for the Philippines?
Yes. The Philippines uses 220V at 60Hz with Type A, B and C sockets, so bring a universal travel adapter that covers all three. You usually do not need a voltage converter, because almost all modern phones, laptops and camera chargers are dual-voltage (check for “100–240V” on the plug). Only single-voltage appliances such as some hairdryers risk frying, so leave those at home.
Is reef-safe sunscreen required in the Philippines?
It is strongly pushed and increasingly enforced rather than a blanket national law. Boracay, El Nido and many marine-protected areas and tour operators require or request reef-safe (mineral) sunscreen, and some checkpoints will turn away products with oxybenzone or octinoxate before you enter the water. Bring a zinc-oxide or titanium-dioxide mineral sunscreen from home, as good reef-safe options are hard to find and expensive locally.
How much cash should I bring to the Philippines?
Bring enough pesos to cover your first day or two, then rely on city ATMs (expect about a ₱250 / $4 fee per withdrawal). The key is small bills: hoard ₱20, ₱50 and ₱100 notes, because boats, tricycles, jeepneys and small stores are cash only and rarely have change for ₱1,000 notes. Carry a little USD as backup, and do not keep all your cash in one place.
What should I wear in the Philippines?
Lightweight, loose, quick-dry clothing for the heat and humidity, plus swimwear you can rotate. Add one modest layer that covers shoulders and knees for churches, mosques and conservative towns, which doubles as a shield against fierce mall and bus air-conditioning. Pack a light rain layer year-round. Skip anything heavy; you will wear the lightest items you own every day.
Do I need bug spray and is dengue a risk?
Yes, repellent is essential. Dengue is present year-round in the Philippines and authorities flagged elevated risk again in 2026, so pack a repellent with at least 30% DEET or 20% picaridin and reapply at dusk. Wearing long sleeves in the evening and treating clothes with permethrin add protection. There is no vaccine recommendation for most short-term travellers, so bite prevention is the main defence.
Sources and photo credits
Photo credits
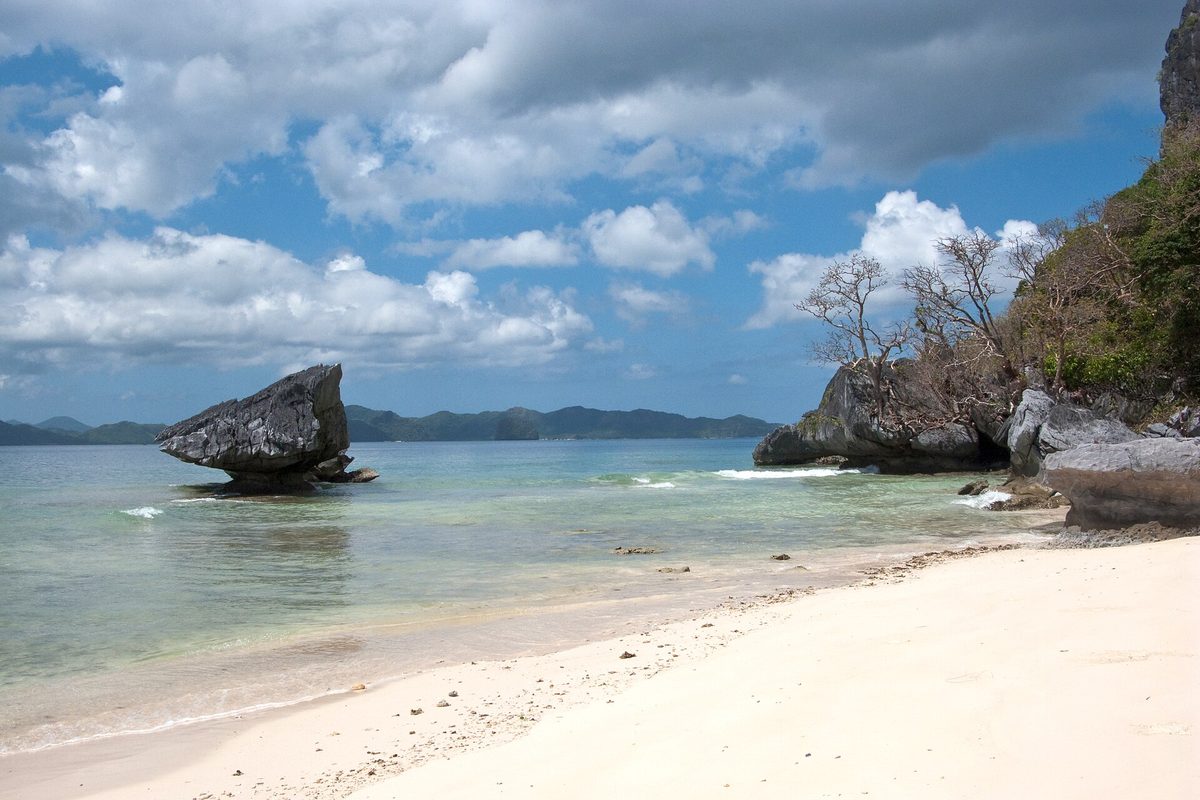
El Nido beach, Palawan — Vyacheslav Argenberg (CC BY 4.0) via Wikimedia Commons
Island-hopping bangka boats, Palawan — Marek Ślusarczyk (Tupungato) Photo portfolio (CC BY 3.0) via Wikimedia Commons
Batad rice terraces, Ifugao — Adi.simionov (CC BY-SA 3.0) via Wikimedia Commons
Tubbataha Reefs Natural Park — Ron Van Oers (CC BY-SA 3.0 igo) via Wikimedia Commons
Rainforest in the rain, Mount Makiling — DrVives (CC0) via Wikimedia Commons
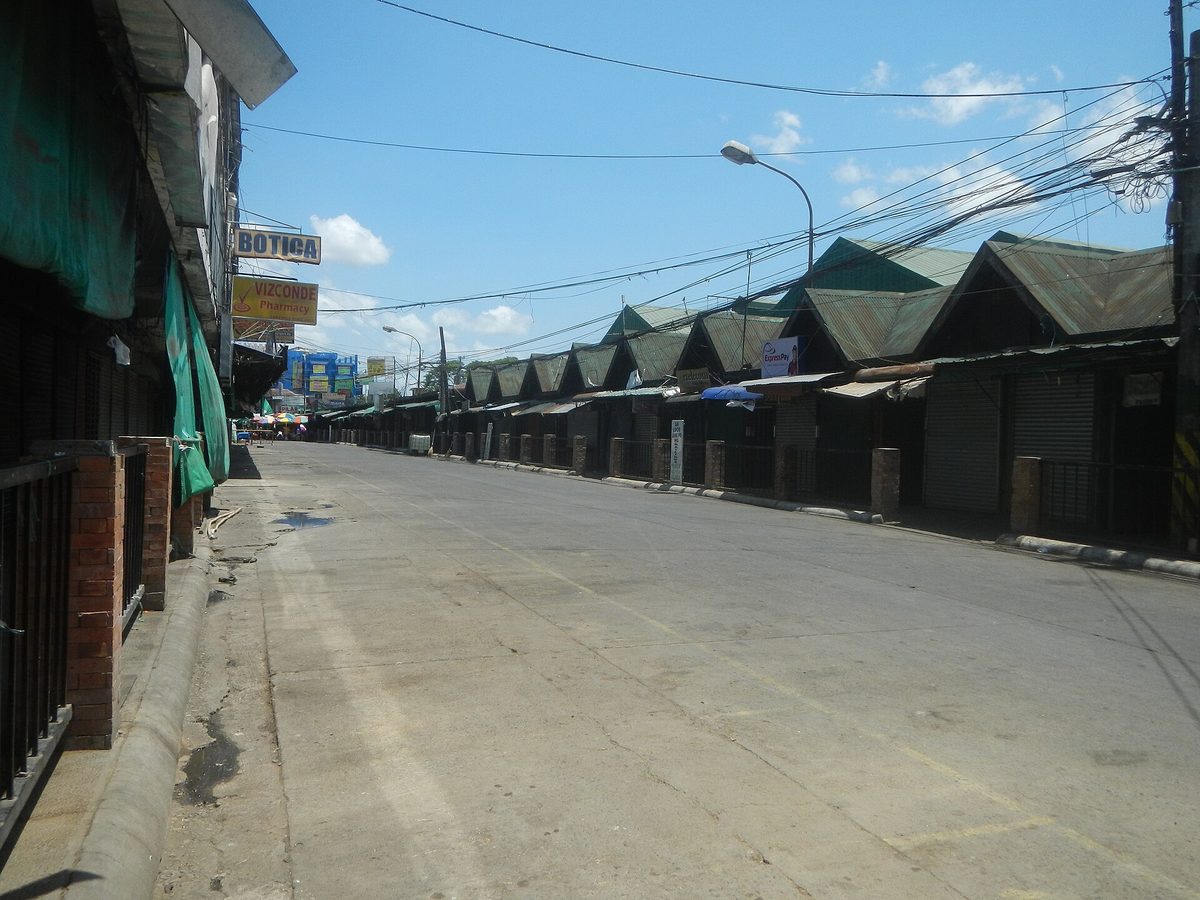
Baliuag public market, Bulacan — JFVelasquez Floro (CC0) via Wikimedia Commons
Sources and further reading
For the facts that change, go straight to the source: the Philippine Bureau of Immigration for current visa and entry rules, PAGASA for live weather and typhoon bulletins, the Philippine Department of Health for dengue advisories, and Globe for current tourist SIM and eSIM plans and pricing.
About this guide: this is part of PhilippinesTourism.org, an independent, traveller-written resource. We pack and travel the islands ourselves, hedge prices in pesos and dollars, and make honest calls about what is worth bringing and what to leave at home. Prices and rules change, so confirm anything perishable before you fly. Verified July 2026.